Installation
Installing DBeagle
Requirements
- VS Code
1.96.0or later - A local desktop environment supported by the current preview build:
- macOS Apple Silicon
- macOS Intel
- Linux x64
- Windows x64
- A reachable Trino, PostgreSQL, MySQL, SQL Server, or Vertica database
You do not need Node.js or Rust to install DBeagle as a user.
Virtual workspaces are not supported in the current preview release.
Install from the Marketplace
This is the recommended path for most users.
- Open VS Code.
- Open the Extensions view with
Cmd/Ctrl+Shift+X. - Search for
DBeagle. - Install the extension published as
PrasadPathak.dbeagle.
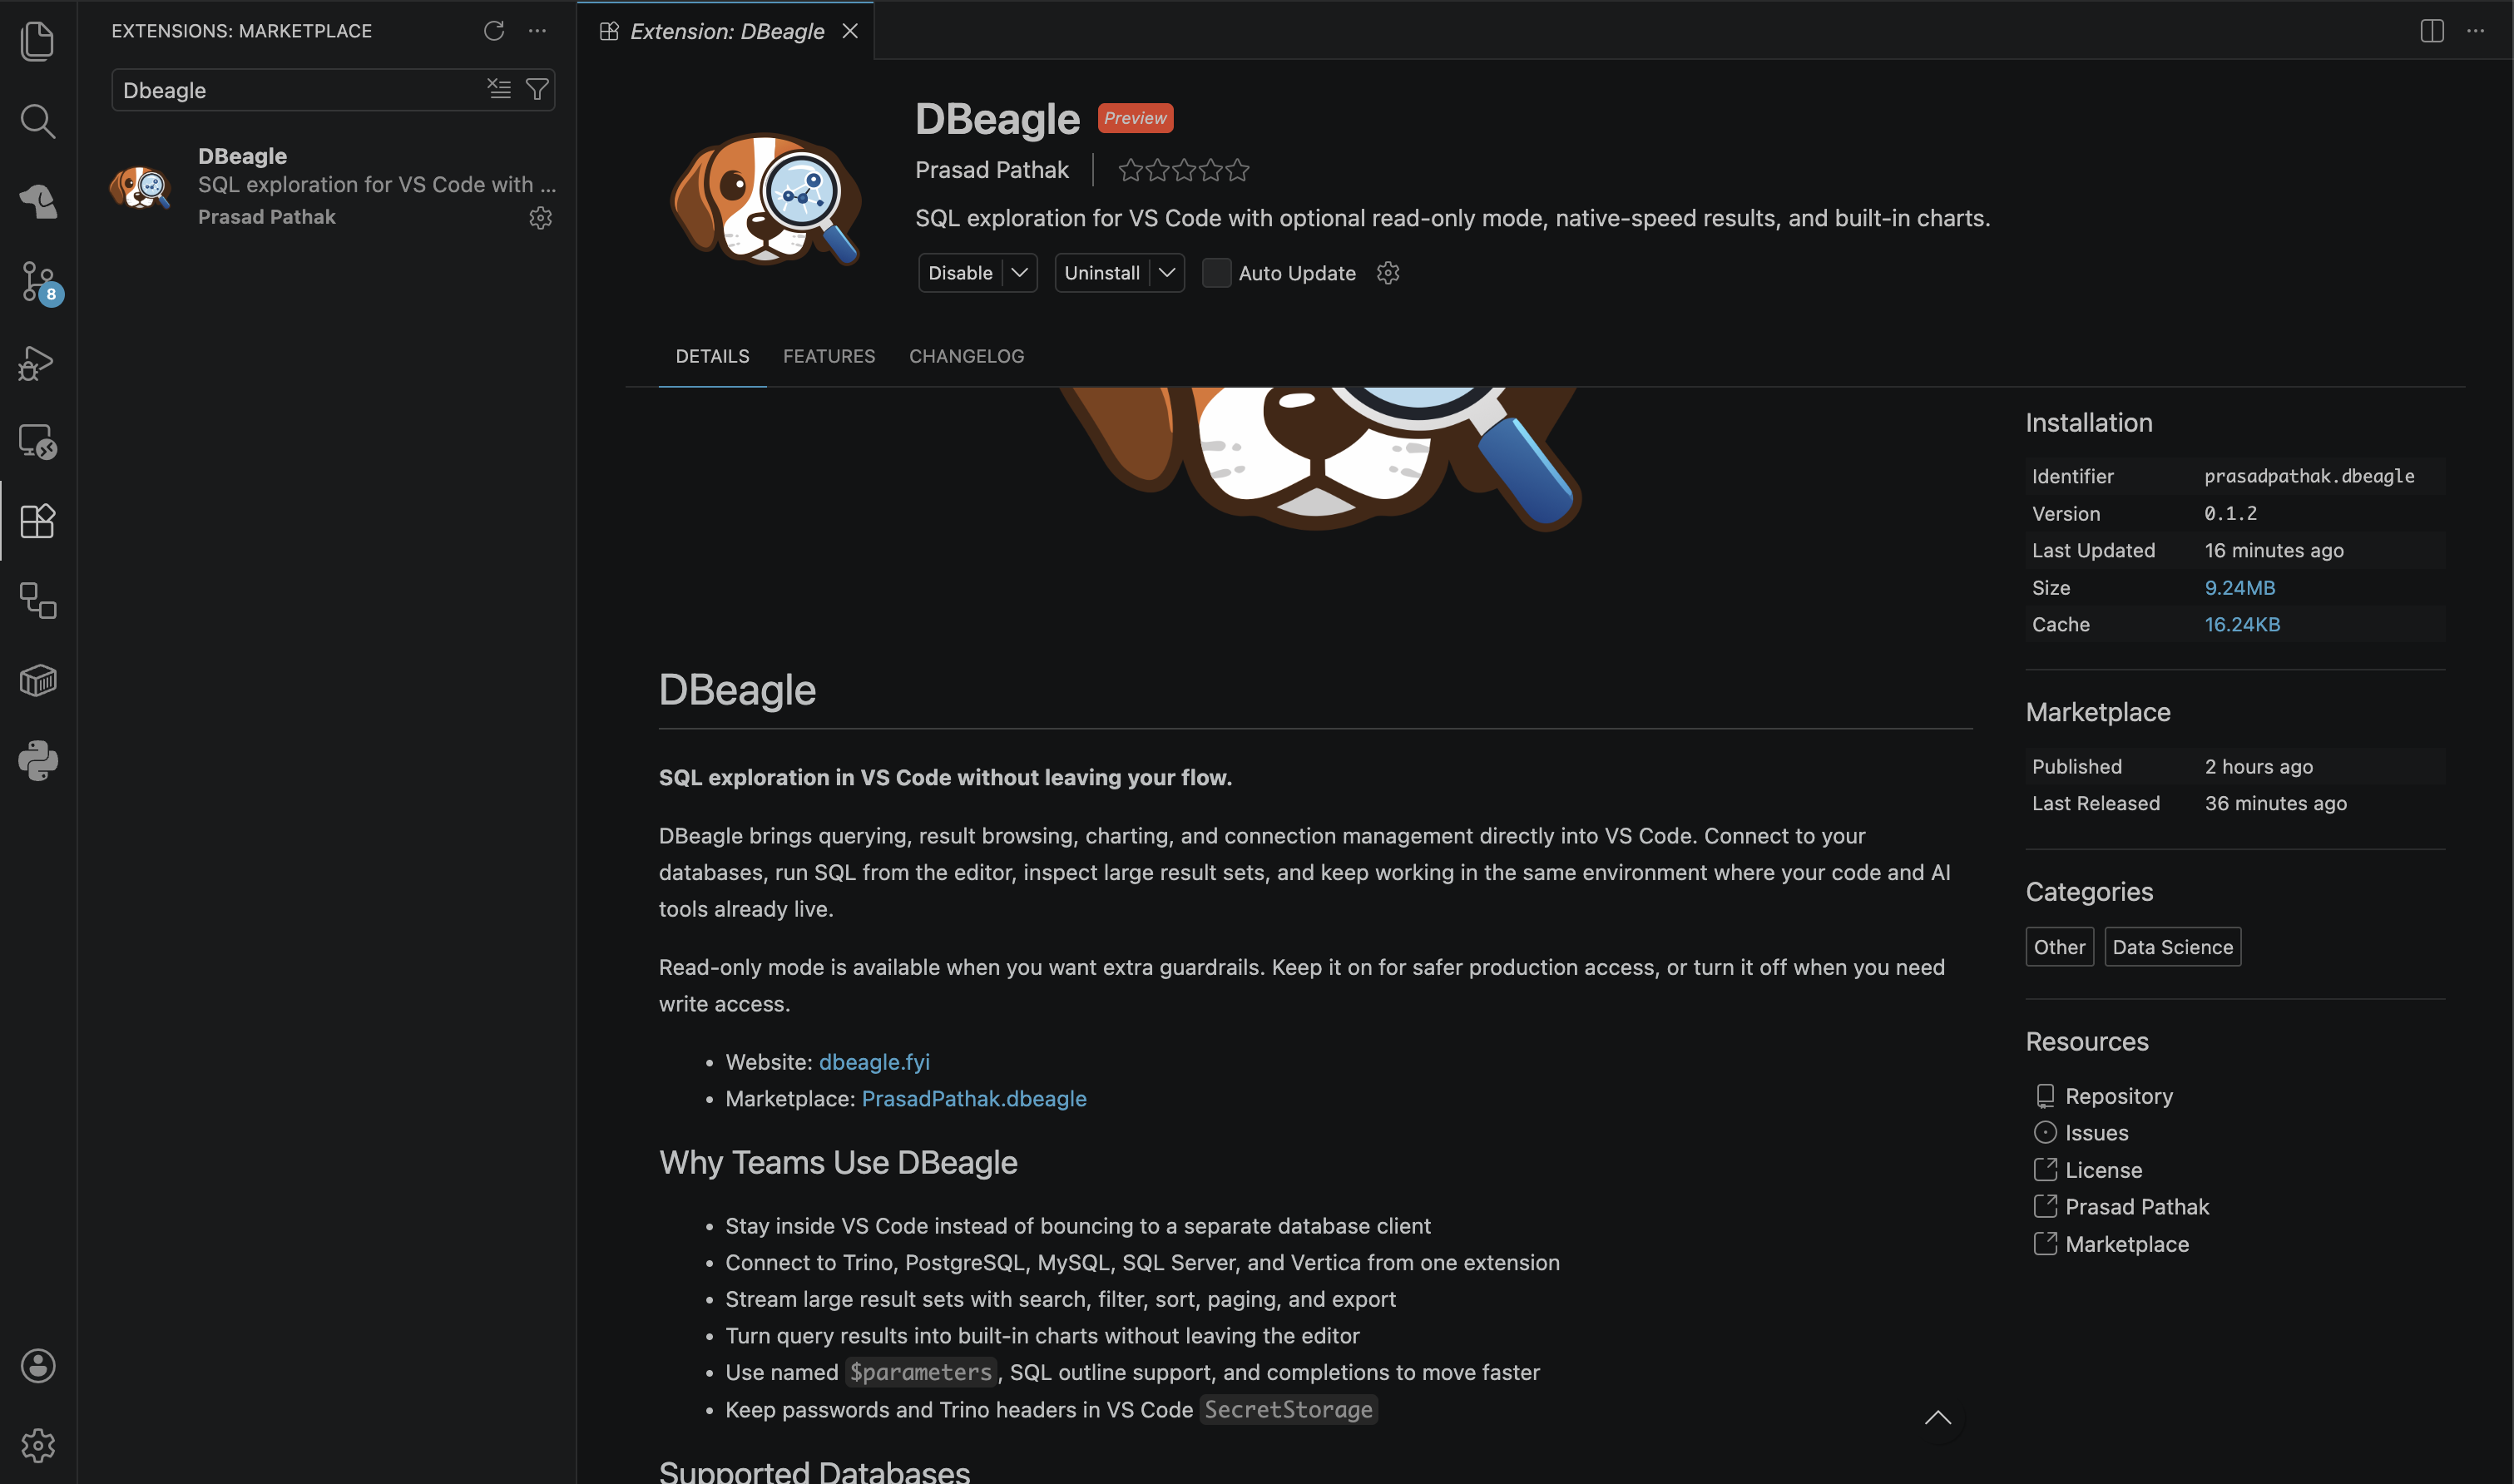
DBeagle in the VS Code Marketplace.
Install from a VSIX
If you are testing a preview build, you can install from a .vsix file:
- Open VS Code.
- Open the Extensions view.
- Open the
...menu in the top-right corner. - Choose
Install from VSIX.... - Select the DBeagle VSIX you were given.
Verify the install
After installation, you should see:
- A
DBeagleicon in the Activity Bar - A
Connectionsview - A
Scratchesview - A
Parametersview - A
Query Outlineview - A
DBeagle Resultspanel container
If the icon does not appear right away, reload the window once from the Command Palette with Developer: Reload Window.
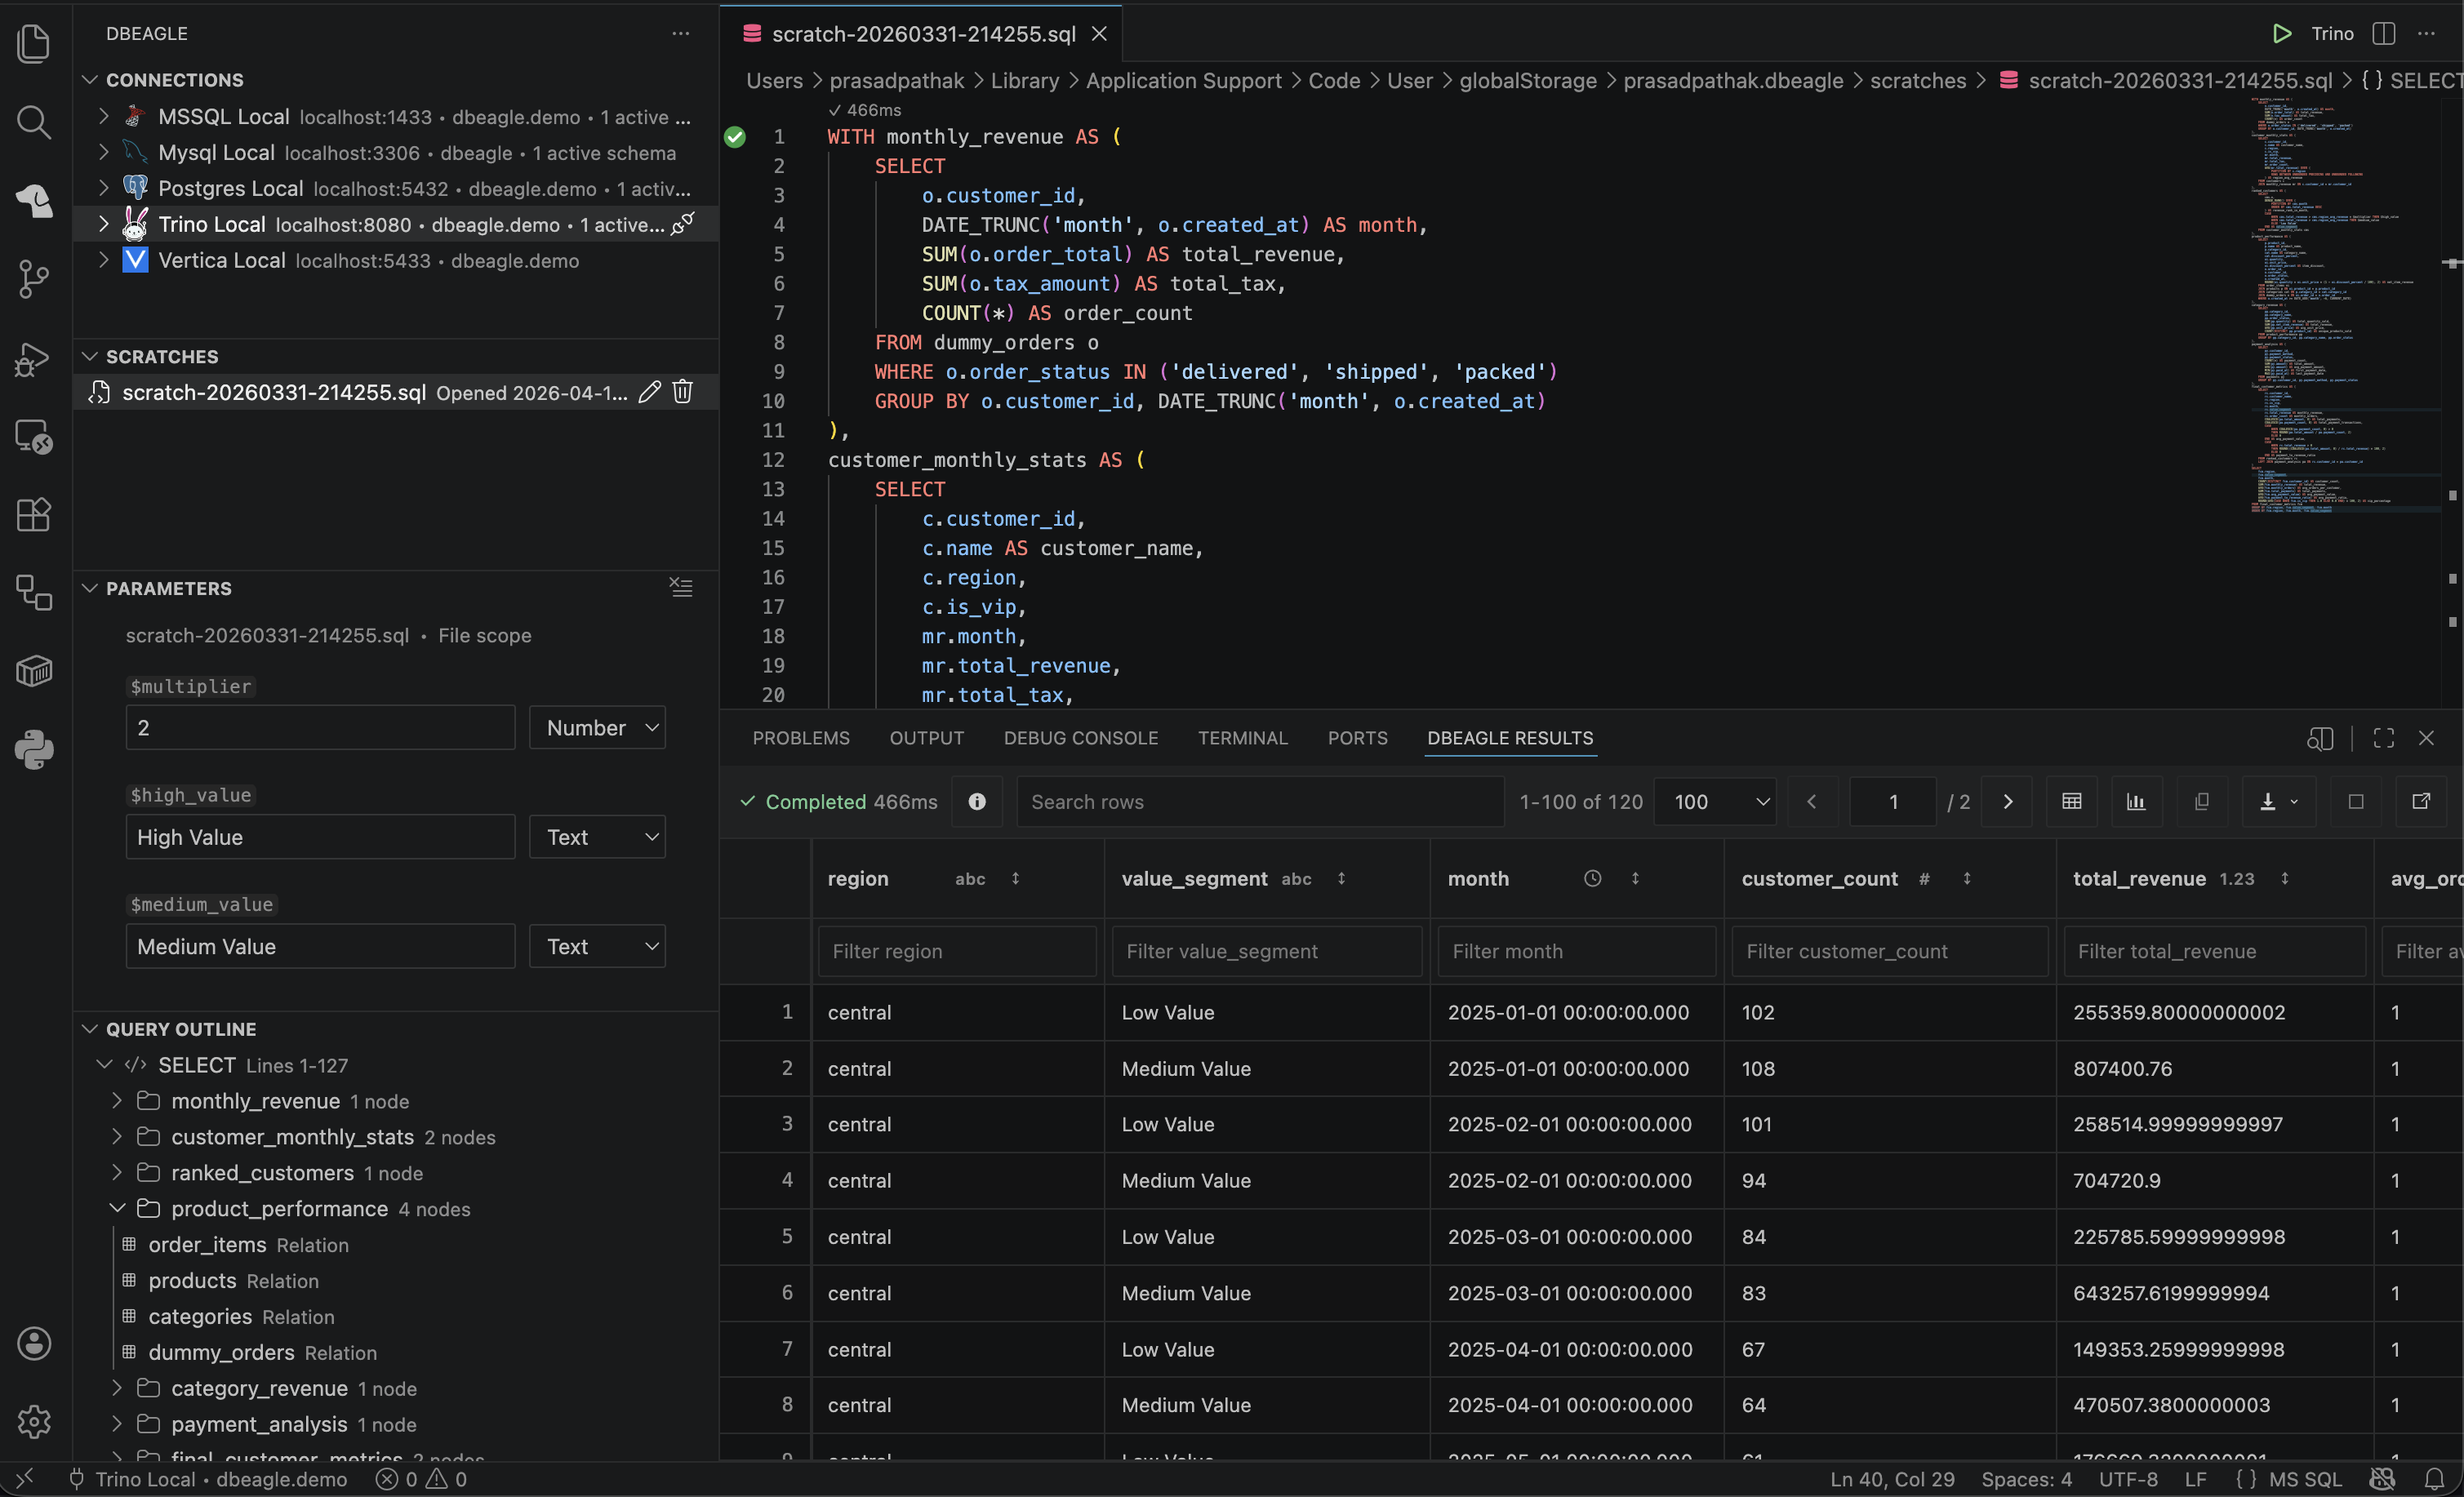
DBeagle open in VS Code after installation.
Install from source
If you are contributing to DBeagle itself, use the extension repo rather than the website repo:
git clone https://github.com/prasaddpathak/dbeagle.gitcd dbeaglenpm cinpm run buildOpen the repo in VS Code and press F5 to launch an Extension Development Host. See Contributing for the current developer workflow.